Managing List Groups
Now that we have covered the basic concept of List Groups and the types of entires that you can add to them, we will proceed with creating, editing, deleting and assigning List Groups.
List Groups can be accessed from wherever they can be assigned, such as Policy Sets and Bypass Lists, but you may also access them all from the Lists section, accessible from the main navigation menu.
Create a new List Group
The first step in creating a new List Group is to decide if it's really necessary or not. If you already have a number of List Groups it's possible that an existing one will be appropriate for the change you wish to implement.
If you do need a new custom list of web resources, first ask yourself the following questions:
- How would I describe the type of resources in this list; what is it for? e.g. Allowed content, Banned content, Unmetered content, Filtering bypass etc.
- To whom do I intend to assign the list? e.g. everyone, just the staff, only managers etc.
With the answers to these in in mind:
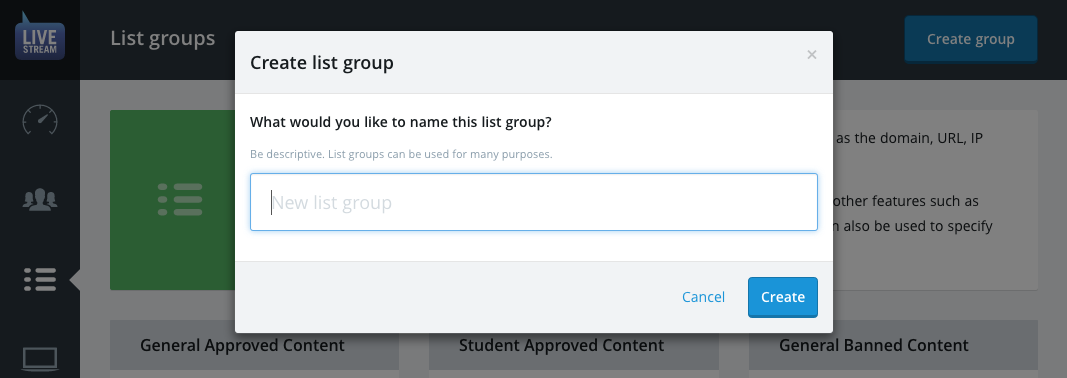
Click on the New Group or Create a new filter list button, depending where you are creating the list.
Use the what and the whom from earlier to create a succinct name for your List Group e.g. Student bad list, Staff approved content, History class sites, Student unmetered conent etc.
Enter the name and click Create
Your new, blank, list will now be presented for editing.
Editing a List Group
Once a List Group is created, it can only be managed directly from its Edit page. To get there, click on the List Group's name or corresponding edit button wherever it appears.
List Groups are made up of four different types of entries which each have their own tab. Choosing valid list entries for each type is discussed in-depth in the previous section.
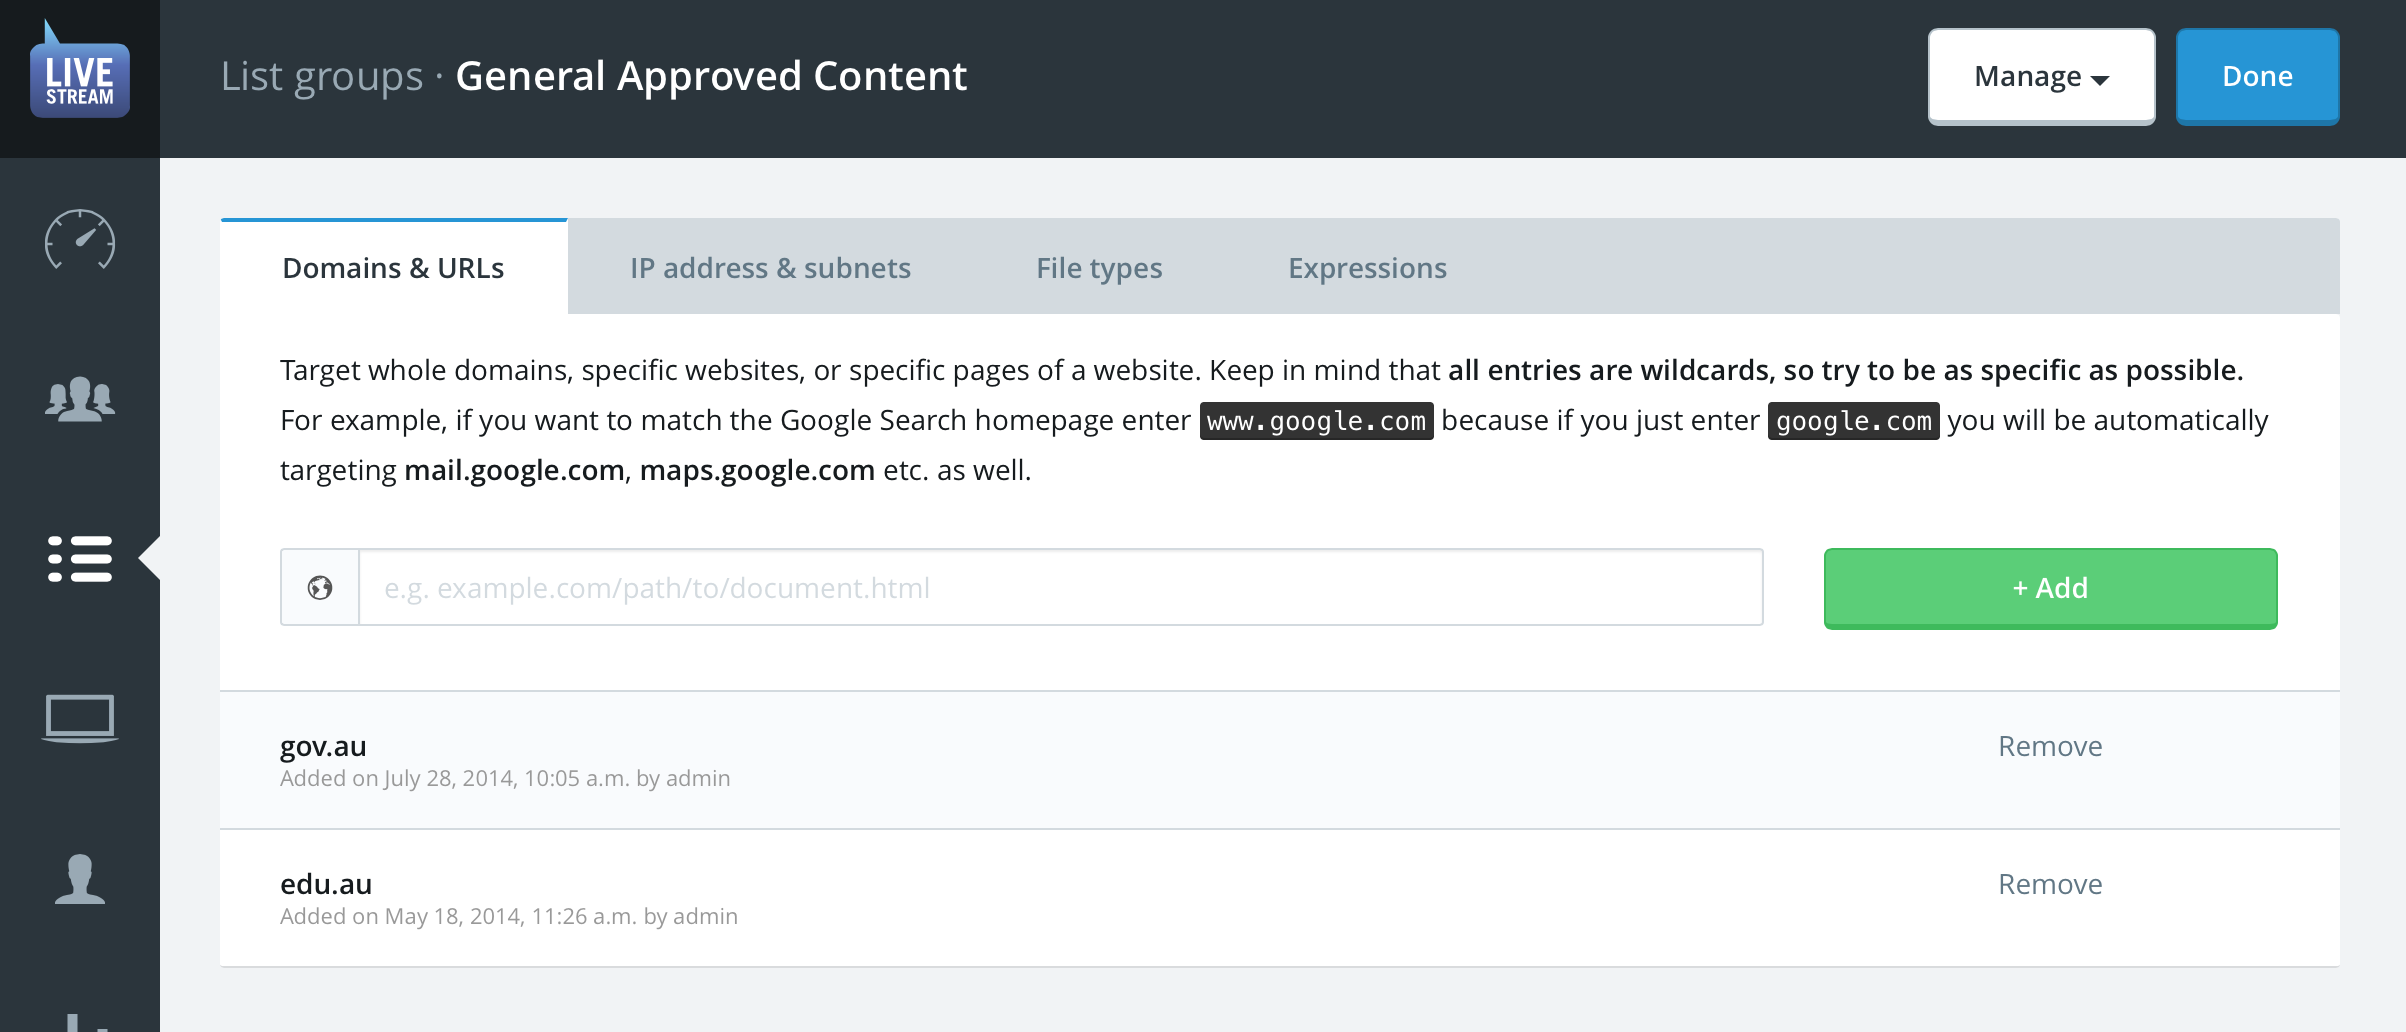
Adding a new entry
To add a new entry, enter it into the input field and click the Add button.
The system will validate the entry to make sure it's in the correct format and doesn't conflict with any existing entries. If it is, you will receive an appropriate "success" message.
Importing entries from a file
If you have an existing web filter, pre-existing custom filter lists or would just like to add more than one try at once, you can import them from a text file.
IMPORTANT: Your text file should only contain Domain, URL and/or IP entries with one entry per line. It's okay to include different types within the same file as they'll be validated accordingly.
Open the Manage menu in the top-right of the page.
Choose the Import option from the drop-down.
From the dialogue, choose the text file you wish to import from the filesystem of your computer.
Click Import.
When the import is complete the system will inform you of how many entries were imported and how many were ignored due to errors.
Editing an entry
Entries cannot be edited. If you have made a typing mistake you should delete the entry and add it again.
Deleting an entry
Click on the corresponding Delete action.
Renaming a List Group
Sometimes you may find that the content of a List Group has deviated from the original intention, or you just made a typo. No problem—you can rename it.
Open the Manage menu in the top-right of the edit page.
Choose the Rename option from the drop-down.
In the dialogue, enter the new or amended title and then click Rename.
The new name will now be reflected everywhere that the List Group is referenced.
Deleting a List Group
Has a List Group been been made redundant by one that's more specific or by a new policy configuration? No problem—you can delete it.
Open the Manage menu in the top-right of the edit page.
Choose the Delete option from the drop-down.
In the dialogue, make sure this is what you want and then click Delete.